How to Install Zabbix 5 on CentOS 7
Zabbix is an open source and the ultimate enterprise-level software designed for real-time monitoring of metrics collected from servers, virtual machines, network devices and applications.
Zabbix uses server-client architecture for various supported platforms including Linux, UNIX and Windows where the Zabbix agent, which is developed in C language, needs to be installed on respective servers to get monitored and collect data such as CPU, memory, disk and network interface usage from a device. It supports agentless monitoring for network devices via Simple Network Management Protocol (SNMP) or Intelligent Platform Management Interface (IPMI) generic monitoring protocols.
In this tutorial, we will explain how to install and configure Zabbix 5.0 on CentOS 7
Pre-requisites
- Apache - Web Server
- PHP
- PHP Extensions
- MariaDB Database
Update System
sudo yum update
Install Basic Packages
sudo yum install vim
Change SELinux mode to Permissive
Edit the /etc/selinux/config file as follows and reboot the system
sudo vim /etc/selinux/config
# This file controls the state of SELinux on the system.
# SELINUX= can take one of these three values:
# enforcing - SELinux security policy is enforced.
# permissive - SELinux prints warnings instead of enforcing.
# disabled - No SELinux policy is loaded.
SELINUX=permissive
# SELINUXTYPE= can take one of these two values:
# targeted - Targeted processes are protected,
# minimum - Modification of targeted policy. Only selected processes are protected.
# mls - Multi Level Security protection.
SELINUXTYPE=targeted
Install Apache
sudo yum install httpd
Start and enable the Apache services at boot time.
sudo systemctl start httpd
sudo systemctl enable httpd
Install MariaDB Database
By default CentOS 7 base repository provides MariaDB 5.5 version, which will work for osTicket application. But in this tutorial, we will install the latest version of MariaDB 10.4
Create repo for MariaDB 10.4
sudo vim /etc/yum.repos.d/MariaDB.repo
[mariadb]
name = MariaDB
baseurl = http://yum.mariadb.org/10.4/centos7-amd64
gpgkey=https://yum.mariadb.org/RPM-GPG-KEY-MariaDB
gpgcheck=1
Install MariaDB and its dependencies
sudo yum install MariaDB-server
Start and enable the MariaDB Server services at boot time.
sudo systemctl start mariadb
sudo systemctl enable mariadb
Configure MariaDB
sudo mysql_secure_installation
Create Database for Zabbix Server
sudo mysql -u root -p
create database zabbixdb character set UTF8 collate utf8_bin;
create user 'zabbixuser'@'localhost' identified BY 'Linuxyogi@123';
grant all privileges on zabbixdb.* to zabbixuser@localhost ;
flush privileges;
Install Zabbix Server and dependencies
Add Zabbix repository. Use the latest download URL from the official website.
sudo yum install https://repo.zabbix.com/zabbix/5.0/rhel/7/x86_64/zabbix-release-5.0-1.el7.noarch.rpm
Install Zabbix packages
sudo yum install zabbix-server-mysql zabbix-agent zabbix-get
Install yum-utils, it is a collection of tools and programs for managing yum repositories, installing debug packages, source packages, extended information from repositories and administration. Use the yum-config-manager program to enable Zabbix Frontend repository.
sudo yum install yum-utils
sudo yum-config-manager --enable zabbix-frontend
Install remaining Zabbix packages including PHP 7.2 and its dependencies.
sudo yum -y install centos-release-scl
sudo yum -y install zabbix-web-mysql-scl zabbix-apache-conf-scl
Import initial schema to database.
sudo zcat /usr/share/doc/zabbix-server-mysql-5.0.5/create.sql.gz | mysql -uzabbixuser -p zabbixdb
Configure Zabbix Database configuration file.
DBName=zabbixuser
DBUser=zabbixdb
Uncomment DBPassword=
DBPassword=Linuxyogi@123
Configure the php.ini and Zabbix frontend timezone
sudo vim /etc/php.ini
Uncomment date.timezone =
date.timezone = Asia/Kolkata
sudo vim /etc/opt/rh/rh-php72/php-fpm.d/zabbix.conf
'php_value[date.timezone] =
php_value[date.timezone] = Asia/Kolkata
Restart and enable the services at boot level.
sudo systemctl restart zabbix-server zabbix-agent httpd rh-php72-php-fpm
sudo systemctl enable zabbix-server zabbix-agent httpd rh-php72-php-fpm
Allow TCP ports 10051 and 10050 from Firewall for Zabbix agent to communicate with Zabbix Server and TCP 80 port for Zabbix Server Dashboard access.
sudo firewall-cmd --add-port={10051/tcp,10050/tcp,80/tcp} --permanent
sudo firewall-cmd --reload
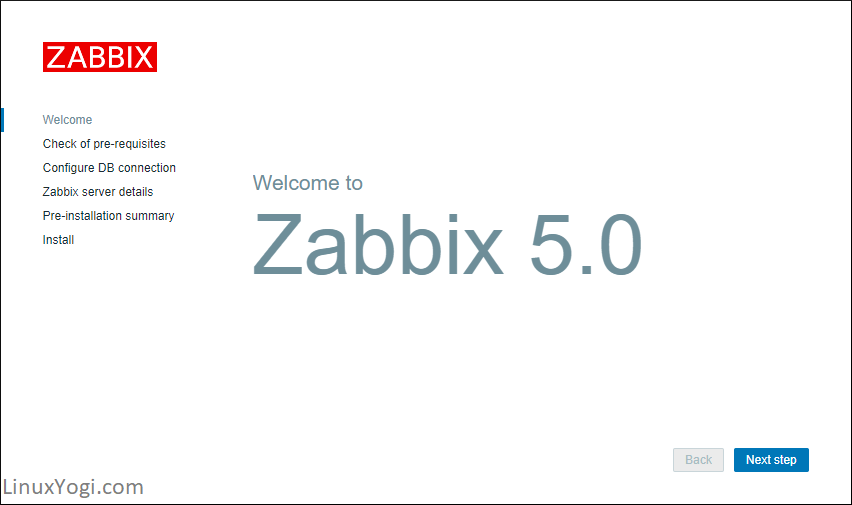
Web Installation to Setup Zabbix Server
Open browser and navigate to http://<server-ip>/zabbix and Click Next Step.
example- http://10.0.0.6/zabbix
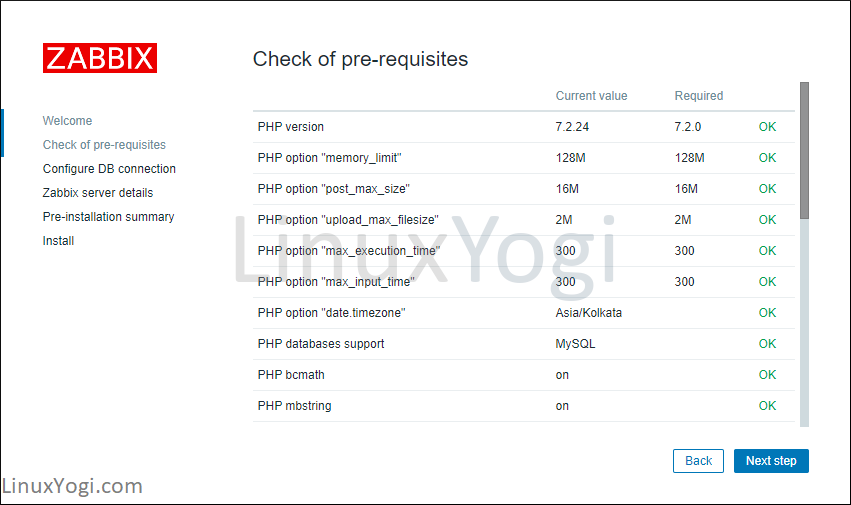
In this Step Zabbix will verify all the pre-requisites and dependencies of installed PHP, MariaDB versions for Zabbix Installation. If any parameter fails, you have to modify the respective config and refresh the page and Click Next Step.
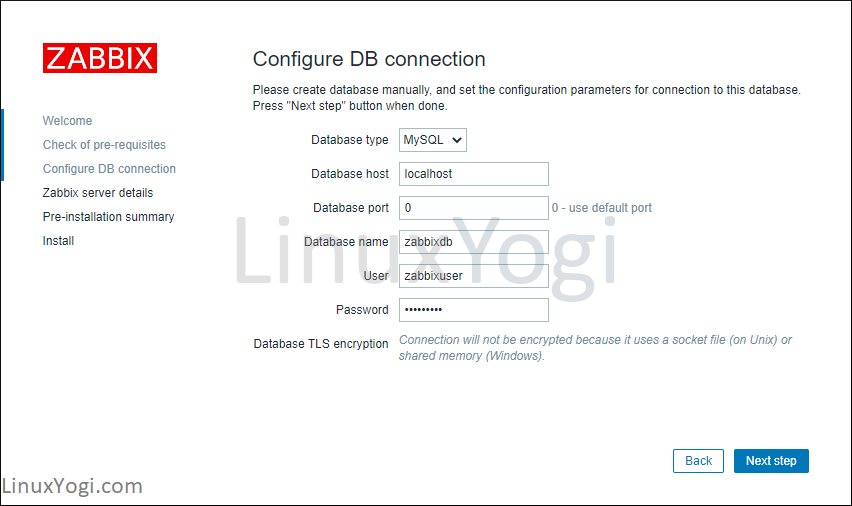
Provide the Zabbix DB name, DB user and password for Database connection. Click Next Step.
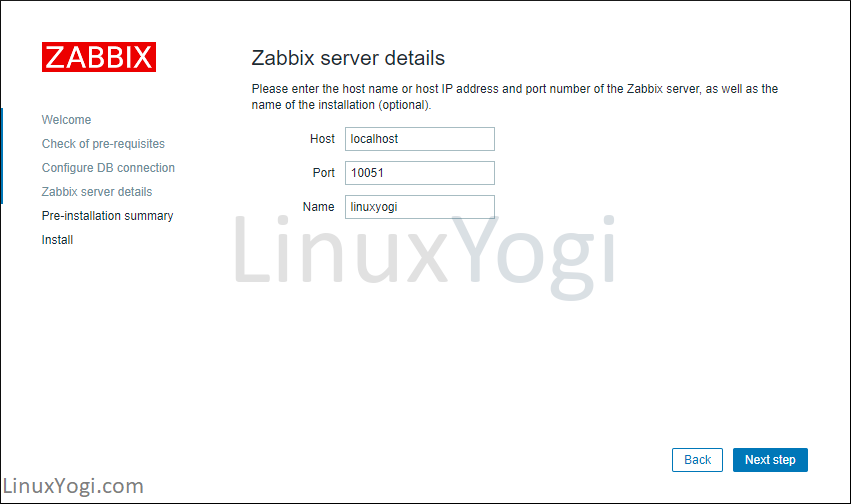
Provide the Zabbix server details, hostname, port and the name and Click Next step.
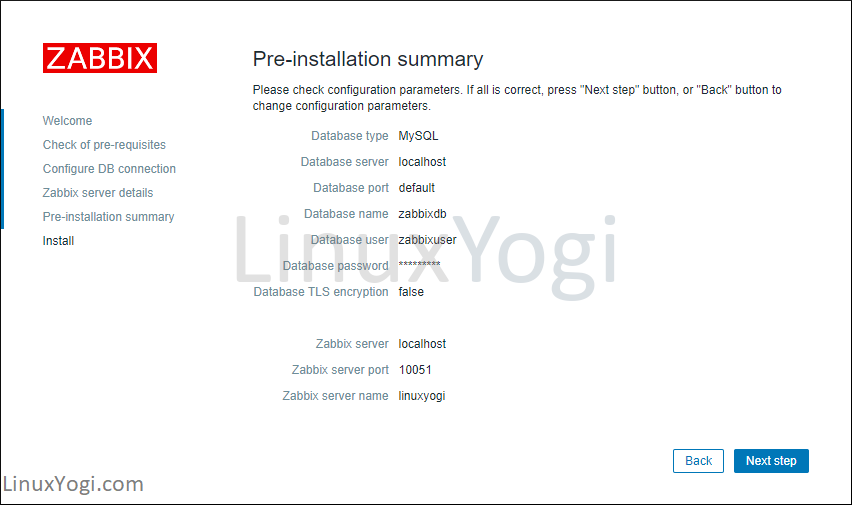
In this Step, you will find the summary of Zabbix Server and Database details. Click Next Step.
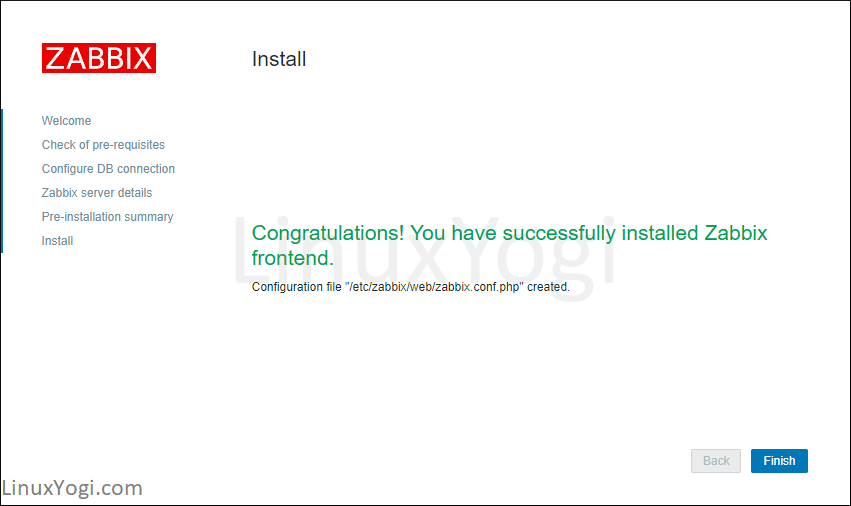
In this Step, configuration file has created. Click Finish.
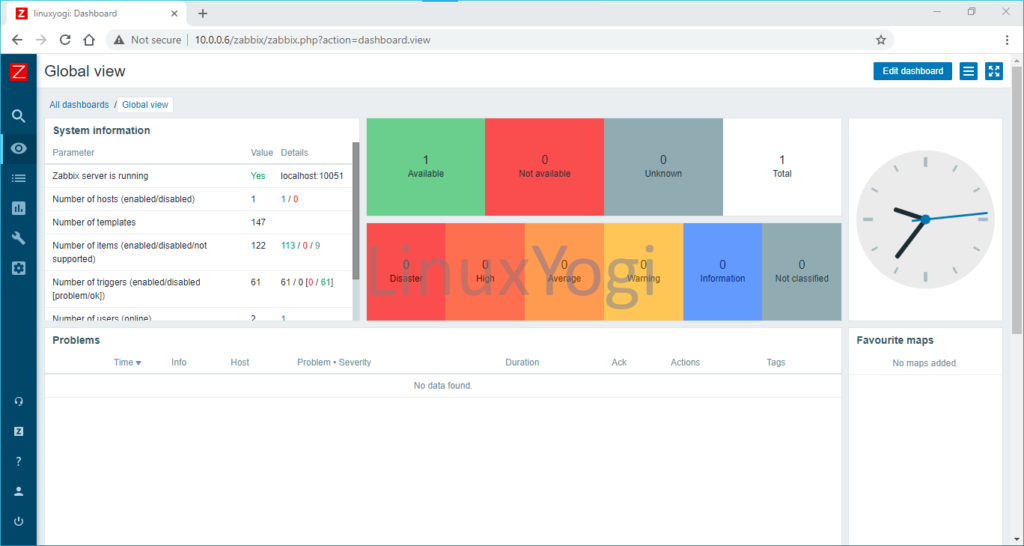
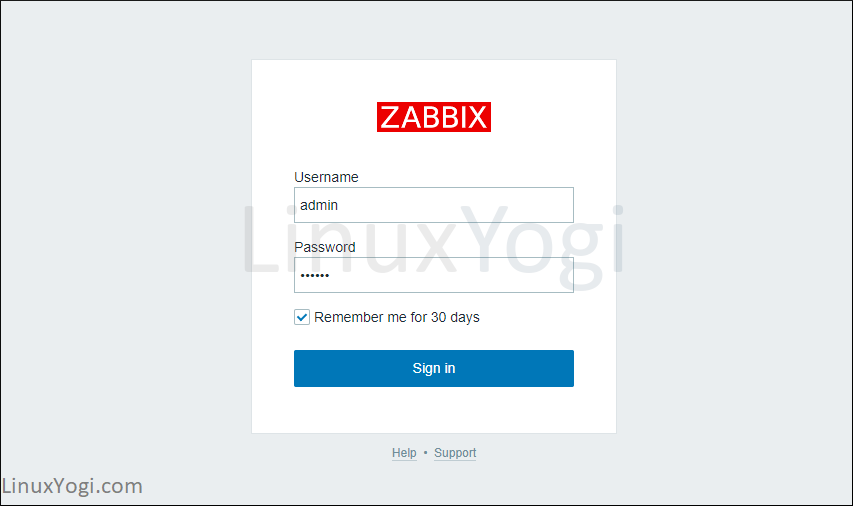
Zabbix dashboard login page. The default login name is “Admin” and password is “zabbix”.
Zabbix Dashboard